
Should You Dismantle Your Wardrobe Before Moving?
October 10, 2026
Before taking a wardrobe apart, look for its instructions and check the joints. A tall flat-pack unit, a solid timber wardrobe and a mirrored design do not come apart in the same way. Worn fittings can also make reassembly harder.
Measure the route while the wardrobe is still standing. If dismantling is needed, decide who will do it and how the panels, doors and fixings will stay matched. The steps below help you prepare that conversation and avoid an unlabelled pile of boards arriving at the new bedroom.
1. Identify the model and construction
Look for the product label, order record or instruction booklet. Photograph the wardrobe inside and out, including joints, door mechanisms and wall restraints. Tell the provider whether it is flat-pack, solid timber, fitted or a combination of separate units.
Find the manufacturer’s assembly and any disassembly instructions. IKEA’s UK instruction finder explains where to locate product documents. Do not select a guide solely because the illustration resembles your wardrobe: similar products can use different fittings.
Record existing damage such as swollen panels, cracked corners or loose connections. Include it in the assessment instead of covering it with blankets. The provider needs to know if the frame is unstable before deciding how to handle it.
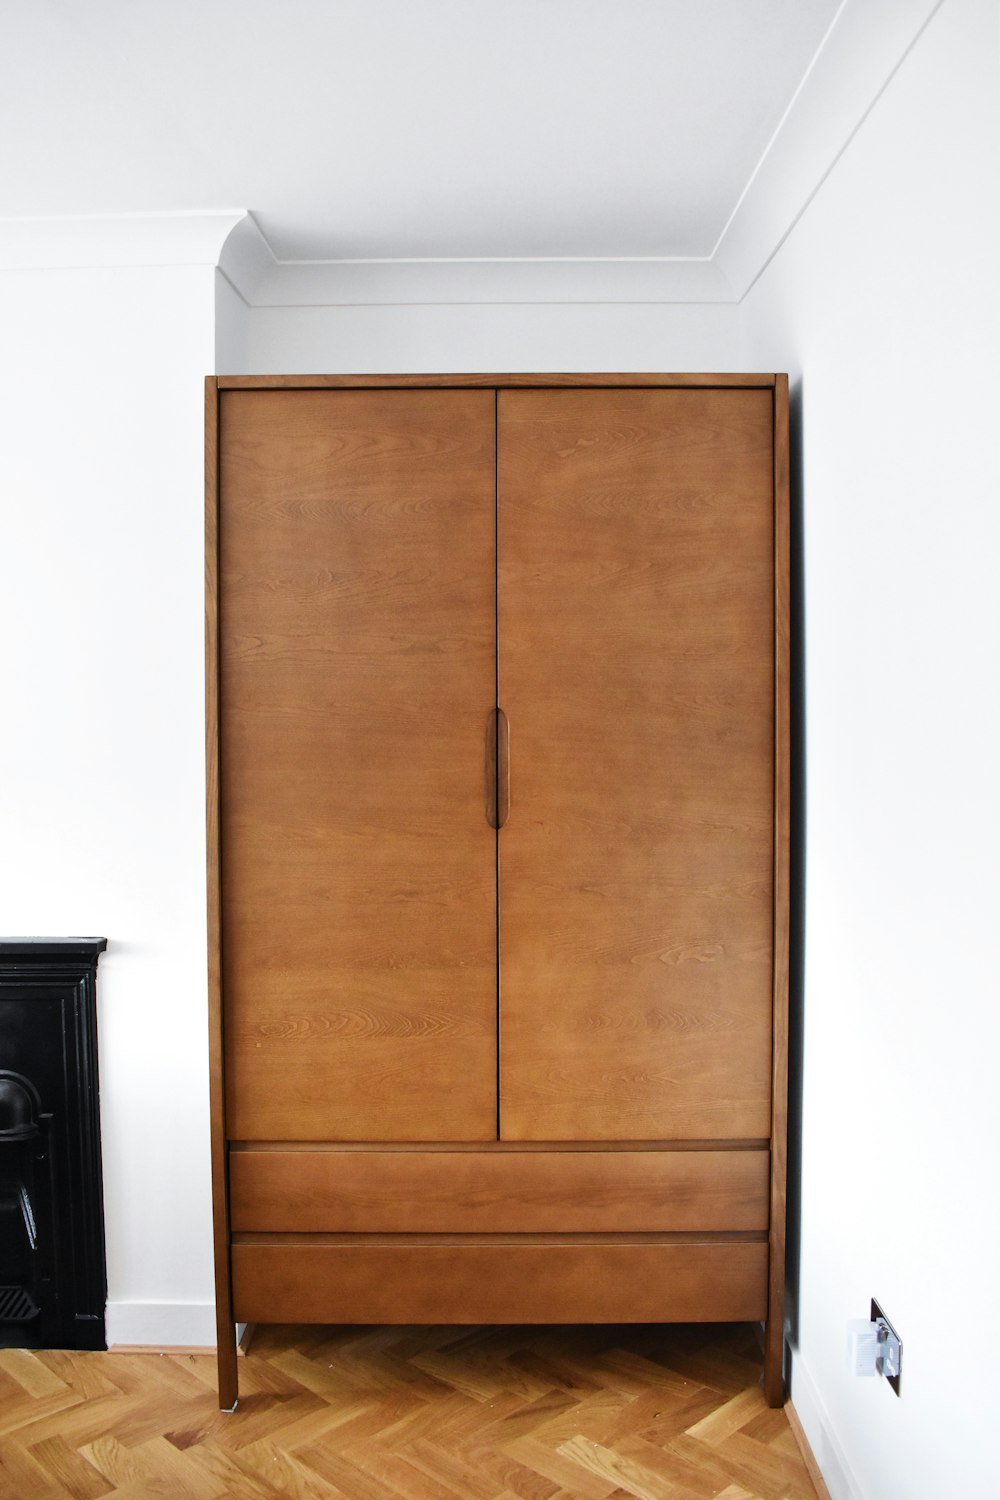
2. Measure the wardrobe and both routes
Measure overall height, width and depth, including the top trim and protruding handles. For joined units, record each individual frame. Check the route through bedroom doors, stair landings, communal entrances and the destination room.
Photograph tight turns and note lift dimensions where relevant. Ask whether the wardrobe must be tilted to leave the room, and whether there is enough headroom for that manoeuvre. Do not rely only on comparing its width with one doorway.
As an example, a route note could say “Bedroom door measured; landing turn still needs assessment; destination lift booking awaiting approval”. This shows which facts are confirmed without making a premature promise that the item will fit.
3. Decide whether dismantling is appropriate
Ask the provider to assess three possibilities: assembled transport, removal of non-structural components, or fuller dismantling. The appropriate option depends on access, construction and condition. Smaller pieces are not automatically easier if dismantling weakens them or creates fragile unsupported panels.
IKEA’s product-support guidance on repeated disassembly cautions that suitability depends on product specifications and that repeated dismantling can affect structural integrity. Consult the exact model’s documents and the manufacturer if uncertain.
Do not dismantle a fitted wardrobe as though it were freestanding furniture. It may be integrated with the room or fixed through several surfaces. Discuss ownership, building permission and appropriate specialist work before treating it as part of the move.
4. Agree who does each task
Confirm who empties the wardrobe, removes components, packs panels, transports it and reassembles it. Ask which tasks are included in the quotation and whether a separate competent person is needed for any part. “Furniture handling” does not clearly define all those responsibilities.
Explain mirror or glass doors when requesting the quote. Ask about the proposed protection and whether the item is suitable for the service. Do not assume that any crew arriving with a van can perform specialist dismantling on an unfamiliar mechanism.
Keep the written scope simple: “Customer empties contents; agreed preparation completed before collection; reassembly separately confirmed.” Adapt it to the actual agreement. The example is a planning format, not a description of ComfortVan’s standard inclusions.
Wardrobe decision: assess before undoing fixings
Identify
Find the model, instructions and condition of the frame.
Compare
Measure the assembled item and both access routes.
Choose
Agree the smallest appropriate amount of dismantling.
Rebuild
Keep parts mapped and follow stability and restraint instructions.
5. Empty and organise the contents
Pack clothes, shoes and accessories separately unless another arrangement is expressly agreed. Remove loose items from shelves and drawers. A small bag of jewellery or documents can otherwise remain unnoticed while the furniture is being prepared.
Pack clothes by destination and keep tomorrow’s outfit apart from the wardrobe load. If you want hanging garment cartons, confirm that they will be supplied before leaving everything on hangers. Put emptied hangers together and keep clothing bags clear of panels and fixings. Do not use the wardrobe rail as temporary support once dismantling has begun.
Check the top and underside of the wardrobe as well as its visible compartments. Make a short contents inventory if several people share the unit, so personal belongings do not get mixed with another person’s move.
6. Map fixings and panels during preparation
Where dismantling has been assessed as suitable, photograph each stage and use labelled parts bags. Identify components by their position: left side, right side, back, top and shelf group. Keep a simple diagram with the labels rather than relying on memory.
Use removable labels on appropriate protected areas and avoid putting adhesive on a delicate finish. Keep similar fittings in separate bags if they belong to different wardrobes. Two nearly identical screws can still serve different functions.
Do not force a seized fitting or continue when a panel begins to crack. Stop and refer the problem to the person responsible for preparation. An improvised repair can create more difficulty at reassembly than pausing the task early.
Wardrobe parts: label before dismantling
| Labelled group | Keep together |
|---|---|
| Door and hinges | Record orientation before removing parts. |
| Shelves and supports | Label which shelf and fitting belong together. |
| Fixings bag | Attach a clear item reference; do not leave screws loose. |
| Panels | Follow the maker’s instructions and protect surfaces and edges. |
7. Protect components and retain the parts kit
Ask the provider how panels and doors should be protected and presented. Keep fragile components clearly identified and avoid leaning them across a walkway. Panels need support appropriate to their size and condition; loose blankets are not a complete packing plan.
Create one labelled kit containing fixings, instructions and the parts diagram. Agree who retains it during transport. A wardrobe can arrive with every panel present and still be unusable if the small connector bag is missing.
Record the number of separate packages. For example, “Wardrobe W2: four protected panel packages, two door packages and one parts kit” gives a clear handover count. Use the actual package count once preparation is complete.
8. Prepare for reassembly and stability checks
Clear enough floor space at the destination for the agreed assembly method. Confirm that the wardrobe’s dimensions suit the new room and that doors can open without obstruction. Tell the assembler about uneven surfaces or other conditions that may affect installation.
Follow the manufacturer’s instructions for assembly, stability and any required wall restraint. Ask an appropriate person to assess fixings for the destination wall. Do not fill an unstable wardrobe or treat reassembly as complete merely because its panels are standing together.
Discuss the job through packing and loading support or your house-removal enquiry. Send photographs, dimensions and the model details so preparation can be considered before booking.
Common mistakes
Undoing structural joints before an assessment, mixing fixings from several units and forgetting wall restraints can all complicate a move. Another error is assuming a damaged flat-pack wardrobe will become stronger after transport. Describe its condition honestly and ask whether moving it remains sensible.
Final checklist
- Model and product documents located.
- Condition photographed.
- Wardrobe and route dimensions checked.
- Dismantling scope agreed.
- Contents packed separately.
- Panels, fixings and package count mapped.
- Destination assembly and stability requirements confirmed.
Frequently asked questions
Can all flat-pack wardrobes be dismantled?
No. Product design, previous assembly and current condition matter. Check the specific instructions and obtain an assessment rather than using a universal rule.
Can I leave clothes inside?
Ask before booking; preparation and handling may require the unit to be empty. Contact ComfortVan with the wardrobe details and agree the requirements in writing.